Using a drill machine for screws makes any DIY project easier. It saves time and effort compared to manual screwdrivers.
Do you want to learn how to use a drill machine for screws? This guide will help you understand the basics. Drilling might seem tricky at first, but with the right steps, you can become proficient. We will cover the essential tips and techniques.
By the end, you will feel confident using your drill machine. Whether you are a beginner or need a refresher, this article will help. Ready to get started? Let’s dive into the world of drilling!

Credit: www.youtube.com
Choosing The Right Drill Machine
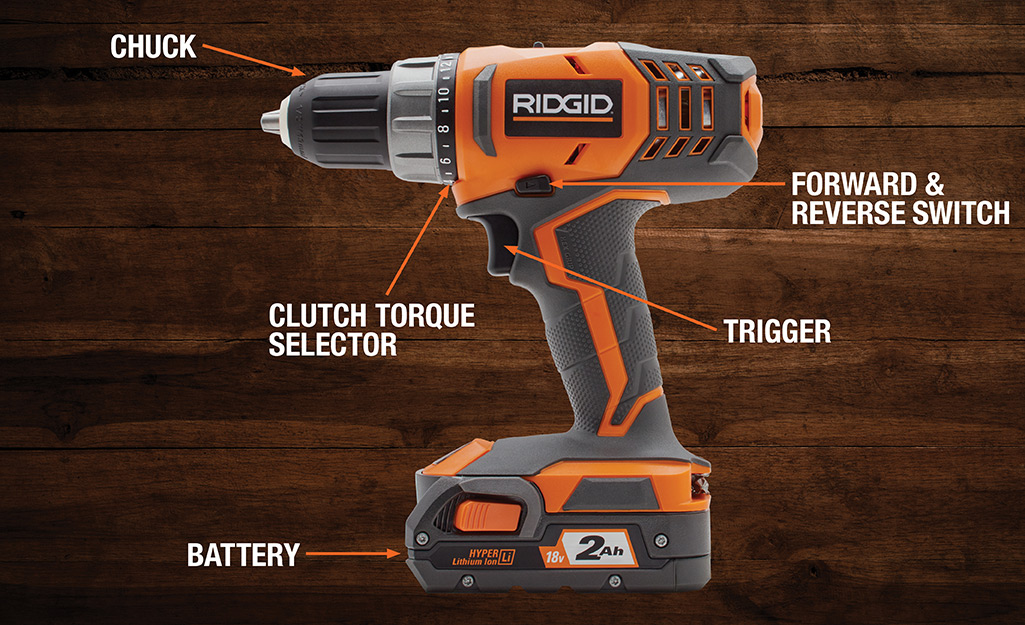
Choosing the right drill machine is crucial for effective and efficient work. The right drill can make your job easier and more accurate. It is important to understand the different types and key features of drill machines. This will help you make an informed decision.
Types Of Drill Machines
There are several types of drill machines available in the market. Each type has its own specific use. Here are the most common types:
- Corded Drill: These drills are powerful and have a continuous power supply. They are ideal for heavy-duty tasks.
- Cordless Drill: These drills are portable and convenient. They are battery-operated and suitable for light to medium tasks.
- Impact Driver: These are designed for driving screws and bolts. They deliver high torque and are perfect for tough materials.
- Hammer Drill: These drills are used for drilling into hard surfaces like concrete. They have a hammering action that helps in drilling.
Key Features To Consider
When choosing a drill machine, consider the following key features:
| Feature | Description |
|---|---|
| Power | Measured in volts or watts. Higher power is suitable for tougher jobs. |
| Speed | Measured in RPM (rotations per minute). Variable speed settings are useful. |
| Chuck Size | Determines the size of the drill bit. Common sizes are 3/8 inch and 1/2 inch. |
| Battery Life | Important for cordless drills. Look for longer battery life and quick charging time. |
| Weight | Lighter drills are easier to handle. Consider the balance between weight and power. |
Understanding these features will help you choose the best drill machine for your needs. A good drill machine makes work easier and more precise.
Essential Safety Precautions
Using a drill machine for screws can be straightforward. But safety is crucial. Understanding essential safety precautions ensures a smooth and safe experience. Let’s explore the necessary steps to protect yourself while operating a drill machine.
Protective Gear
Wear safety goggles to shield your eyes from debris. Gloves can protect your hands from sharp edges and vibrations. Use ear protection to guard against loud noises. Consider a dust mask if drilling in dusty areas. Always wear appropriate clothing. Avoid loose clothing or jewelry that might get caught in the drill.
Safe Operating Practices
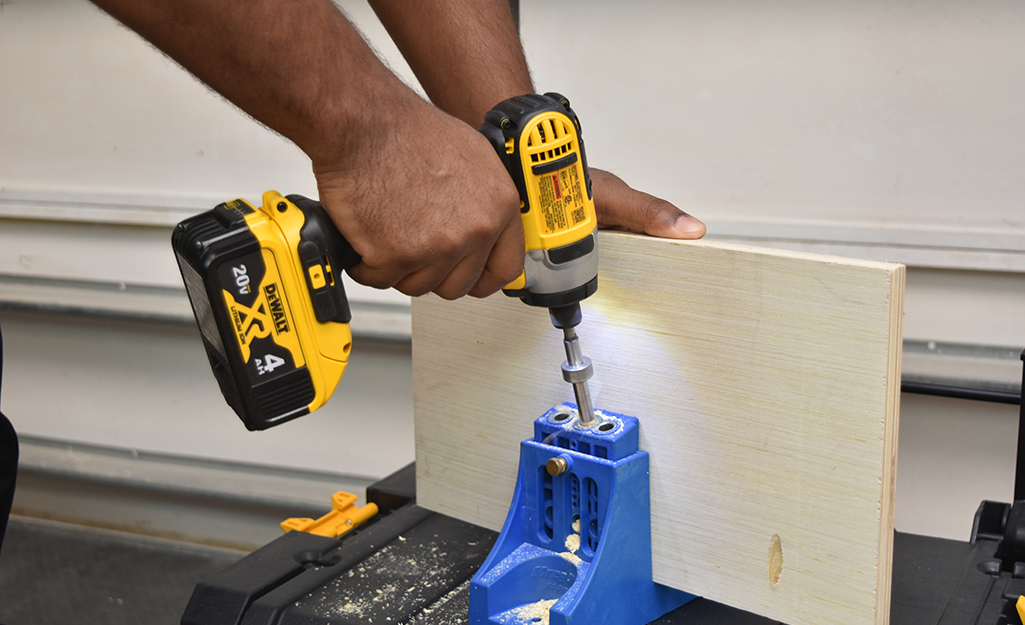
Ensure the drill bit is secure before starting. Check the area for any hazards. Keep your workspace well-lit and free of clutter. Maintain a firm grip on the drill. Use both hands if possible. Start at a low speed to maintain control. Gradually increase speed as needed. Always keep the drill perpendicular to the surface. This prevents slipping and ensures a clean hole.
Unplug the drill when changing bits. Never force the drill. Let the bit do the work. If the drill overheats, stop and let it cool. Always read the manual. Follow the manufacturer’s safety guidelines. Proper use of the drill machine ensures safety and efficiency.
Preparing The Workspace
Before using a drill machine for screws, preparation is key. A well-prepared workspace ensures safety and efficiency. Let’s explore how to get your workspace ready.
Clearing The Area
Start by clearing the area where you will work. Remove any unnecessary items. This reduces clutter and prevents accidents. A clean workspace is a safe workspace.
Make sure there is enough light. Good lighting helps you see clearly. It also reduces the chance of mistakes. Open windows or use a lamp if needed.
Organizing Tools And Materials
Next, gather all necessary tools and materials. Place them within easy reach. This saves time and reduces frustration. You will need the drill machine, screws, and possibly a screwdriver.
Keep a container for small parts. This prevents loss and keeps things organized. Label your containers if necessary. It helps you find what you need quickly.
Ensure all tools are in good working condition. Check the drill machine for any damage. Replace worn-out parts to ensure efficiency. Safety first, always.

Credit: www.homedepot.com
Selecting The Correct Drill Bit
Choosing the right drill bit ensures screws fit perfectly and hold firmly. Match the bit size to the screw’s diameter for best results. Always use a steady hand and correct speed to avoid damaging the material.
Selecting the correct drill bit is crucial for any screw-driving task. The right bit ensures a secure fit and prevents damage to both the screw and the material. Understanding the types of drill bits and how to match them with screws can make your job easier and more efficient.Types Of Drill Bits
Drill bits come in various shapes and sizes. Each type serves a specific purpose. Common types include twist bits, spade bits, and brad-point bits. Twist bits are versatile and work on wood, metal, and plastic. Spade bits are ideal for larger holes in wood. Brad-point bits provide precise positioning in wood.Matching Drill Bits To Screws
Matching the drill bit size to the screw is essential. A bit too large or too small can cause problems. Use a bit that matches the screw’s shank diameter. This ensures a snug fit. For pilot holes, choose a bit slightly smaller than the screw. This allows the screw threads to grip tightly. Always check the manufacturer’s recommendations for the best results.Setting The Drill Speed
Setting the drill speed correctly is crucial for effective drilling. It ensures that screws go in smoothly and without damaging the material. Understanding how to adjust the drill speed can make your task easier and more efficient.
Variable Speed Settings
Most modern drills come with variable speed settings. These settings allow you to control the drill’s speed with a trigger. Light pressure on the trigger results in a slower speed. More pressure increases the speed. This feature is useful for different tasks and materials. Always check your drill’s manual for specific instructions.
Optimal Speed For Different Materials
Different materials require different speeds. For wood, a higher speed is usually better. It allows the screw to go in quickly. For metal, use a lower speed. This prevents overheating and damage. Plastic materials also need a lower speed to avoid cracking.
Always start slow. Gradually increase the speed as needed. This approach gives you more control and reduces mistakes. Practice on a scrap piece of material if you are unsure.
Drilling Pilot Holes
Drilling pilot holes is essential when using a drill machine for screws. Pilot holes guide the screw and prevent wood from splitting. They make the task easier and ensure a clean finish.
Importance Of Pilot Holes
Pilot holes reduce the chance of the wood cracking. They provide a path for the screw, making it easier to drive in. Pilot holes also help to keep the screw straight. This ensures a secure fit and a professional look.
Steps To Drill Pilot Holes
First, select the right drill bit. The bit should be slightly smaller than the screw. This allows the screw to grip the wood tightly.
Next, mark the spot where you want the screw. Use a pencil to make a small dot. This will guide your drilling.
Then, attach the drill bit to the drill machine. Tighten the chuck to secure the bit. Make sure the drill is set to a low speed.
Place the drill bit on the marked spot. Hold the drill steady and apply gentle pressure. Start drilling slowly to create the pilot hole.
Once the pilot hole is drilled, you can drive the screw in. Align the screw with the hole and use the drill machine to drive it in. This ensures a smooth and secure fit.
Driving Screws With Precision
Driving screws with precision is crucial for any DIY project. Accurate screw placement ensures a strong and stable structure. This section will guide you on how to drive screws with a drill machine, focusing on two key aspects: aligning the screw and controlling the drill.
Aligning The Screw
Aligning the screw correctly is the first step to ensure precision. Follow these steps:
- Mark the spot where the screw will go using a pencil.
- Hold the screw at the marked spot.
- Ensure the screw is perpendicular to the surface for accurate placement.
- Use a pilot hole for hard materials to ease the driving process.
Proper alignment prevents the screw from slipping or going in crooked. This step is vital for maintaining the integrity of your project.
Controlling The Drill
Controlling the drill is essential for driving screws with precision. Here are some tips:
- Choose the right bit that matches the screw head.
- Set the drill to a low speed setting for better control.
- Hold the drill firmly with both hands.
- Apply steady pressure but avoid forcing the drill.
- Stop periodically to check the screw’s alignment and depth.
Proper control over the drill ensures you do not overdrive the screw. This helps in preventing damage to the material and screw head.
Troubleshooting Common Issues
Using a drill machine for screws can sometimes come with its set of challenges. It’s important to know how to troubleshoot common issues to ensure a smooth operation. In this section, we’ll address some of these problems.
Stripped Screws
Stripped screws are a common problem. They occur when the drill bit slips out of the screw head. This can damage the screw head, making it hard to remove or tighten.
To avoid this, use the correct size bit. Apply steady pressure while drilling. If the screw head is already stripped, try using a rubber band. Place it over the screw head and then drill. This can give the bit more grip.
Drill Bit Slippage
Drill bit slippage happens when the bit doesn’t stay in place while drilling. This can damage both the bit and the material you are working on.
Ensure the bit is securely tightened in the chuck. Check if the bit is worn out. If so, replace it. Use a slower speed setting for better control.
By addressing these common issues, you can use your drill machine more effectively. Happy drilling!
Maintenance And Care
Proper maintenance and care of your drill machine ensure longevity and optimal performance. Regular upkeep avoids unexpected breakdowns and keeps your tools ready for use.
Cleaning The Drill Machine
Cleaning the drill machine is a crucial task. Dust and debris can clog the machine, affecting its performance.
- After each use, wipe the drill with a clean cloth.
- Use compressed air to remove dust from vents and crevices.
- Ensure the chuck is free of dirt and grime.
Keeping the drill clean prevents overheating and wear. A clean drill runs more efficiently.
Storing Drill Bits
Proper storage of drill bits extends their life and maintains their sharpness.
- Store drill bits in a dry, cool place.
- Use a drill bit case or holder to keep them organized.
- Label different sizes for quick identification.
Consider a magnetic strip for easy access. This keeps your workspace tidy and your bits in good condition.
| Task | Frequency |
|---|---|
| Cleaning the drill machine | After each use |
| Inspecting drill bits for wear | Monthly |
| Lubricating moving parts | Every 3 months |
Regular maintenance and care of your drill machine and bits ensure they last longer and perform better.

Credit: www.homedepot.com
Frequently Asked Questions
How Do You Use A Drill For Screws?
To use a drill for screws, choose the correct bit, secure the screw, and apply steady pressure. Start slow to avoid stripping.
What Type Of Drill Bit Is Best For Screws?
A Phillips or flat-head bit, matching the screw head, works best. Ensure a snug fit to avoid slipping.
Can A Drill Be Used As A Screwdriver?
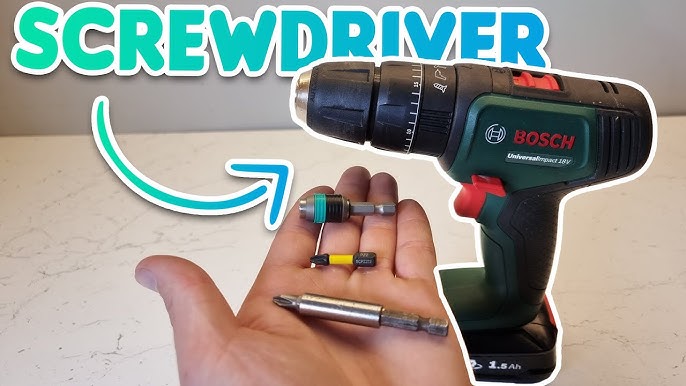
Yes, a drill can act as a screwdriver. Use a low-speed setting and a compatible bit for control.
Why Is My Drill Stripping Screws?
Stripping occurs from using the wrong bit, excessive force, or high speeds. Use the correct bit and steady pressure.
Conclusion
Using a drill machine for screws is simple with practice. Start with the right drill bit. Align it carefully with the screw head. Apply steady pressure while drilling. Avoid over-tightening to prevent damage. Practice on scrap material first. This helps build confidence and skill.
Keep safety in mind always. Wear protective gear like goggles and gloves. With these tips, you can handle screws easily. Your DIY projects will become smoother and faster. Happy drilling!
