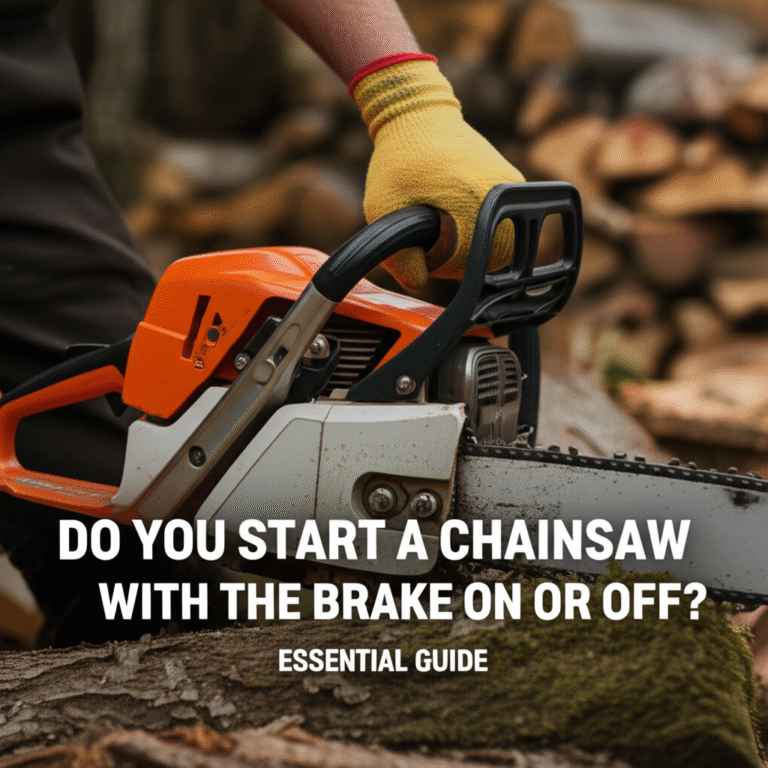
You always start a chainsaw with the chain brake engaged (ON). This is a critical safety step that prevents the chain from spinning unexpectedly during startup, protecting you and others from serious injury.
So, you’ve got a chainsaw, and you’re ready to tackle that downed branch or clear some brush. Great! But before you pull that starter cord, a question pops into your head: “Do I start this thing with the brake on or off?” It’s a common question, and honestly, it’s a good one to ask. Getting this right from the start means a safer, smoother experience. Don’t worry, it’s not complicated, and I’ll walk you through exactly why it matters and how to do it. We’ll cover the safety behind this simple step, and by the end, you’ll be starting your chainsaw with confidence.
The Golden Rule: Always Start With the Brake Engaged
Let’s get straight to the point, folks. The absolute, no-exceptions, first rule of starting a chainsaw is to engage the chain brake. Think of it like putting your car in park before you turn the key. It’s a fundamental safety measure.
Why the Chain Brake Matters During Startup

Your chainsaw’s chain brake is a lever, usually located near the front handle, that can be pushed forward to stop the chain from rotating. When you’re starting a chainsaw, especially a gas-powered one, there’s a lot going on: you’re pulling a recoil cord, the engine is revving up, and sometimes the saw can jump or move unexpectedly.
If the chain brake is off during this process, the chain could start spinning the moment the engine fires up. This spinning chain is incredibly dangerous. It can whip around and cause severe lacerations, even if the saw is just sitting on the ground. Engaging the brake ensures that even if the engine sputters to life and revs high, the chain remains stationary and harmless until you’re ready to cut.
What Happens If You Don’t? A Real-World Example
I remember a neighbor, bless his heart, who was new to chainsaws. He’d seen guys start them and figured the brake was just for when you were actually cutting. So, he started his saw with the brake off. The engine roared to life, the saw kicked back a bit, and the chain immediately started spinning. It took him by surprise, and he dropped the saw. Thankfully, it landed in some soft dirt, but that spinning chain was inches from his leg. It was a stark reminder that this isn’t just a suggestion; it’s a life-saving feature.
Understanding Your Chainsaw’s Chain Brake
Before we dive deeper, let’s make sure we’re all on the same page about what this brake is and how it works.
Anatomy of the Chain Brake
The chain brake system typically consists of:
The Lever: This is the part you push forward with your hand or wrist.
The Band: A metal band that wraps around the clutch drum.
The Linkage: Connects the lever to the band.
When you push the lever forward, it forces the band to tighten around the clutch drum, which is directly connected to the engine’s crankshaft and the drive sprocket that turns the chain. This friction stops the chain from moving. When you pull the lever back towards the front handle, the band releases, and the chain is free to spin.
How to Engage and Disengage
Engaging (ON): Push the lever forward, away from the front handle. You should feel or hear a click as it locks into place.
Disengaging (OFF): Pull the lever back towards the front handle. It will usually swing free.
Important Note: Some modern chainsaws have an inertia-activated chain brake. This means that in addition to the manual lever, the brake will also engage automatically if the saw experiences a sudden jolt or kickback. While this is an excellent safety feature, it doesn’t replace the need to manually engage the brake before starting.
The Step-by-Step Guide to Starting Your Chainsaw Safely
Now that we know why the brake needs to be on, let’s walk through the actual starting process. This is designed for a typical gas-powered chainsaw. Always consult your owner’s manual for specific instructions related to your model.
Step 1: Prepare Your Chainsaw
Before you even think about starting, do a quick check:
Fuel and Oil: Ensure you have the correct fuel/oil mixture (if applicable) and that the chain oil reservoir is full. Proper lubrication is crucial for both performance and the longevity of your saw.
Chain Tension: Check that the chain is properly tensioned. It should be snug but still able to move freely by hand (with gloves on, of course!). A loose chain can derail, and a too-tight chain will cause excessive wear.
Bar and Chain: Make sure there’s no debris, dirt, or sawdust built up on the bar or around the chain.
Clearance: Ensure the area around the saw is clear of flammable materials.
Step 2: Place the Chainsaw on a Stable Surface
Find a flat, firm spot on the ground. Avoid starting on a slippery surface or on uneven ground where the saw might tip or slide.
Step 3: Engage the Chain Brake (The Crucial Step!)
This is where we answer our main question. Push the chain brake lever forward until it clicks into place. The chain should now be firmly stopped.
Step 4: Secure the Chainsaw
On the Ground: Place your right foot through the rear handle to hold the chainsaw firmly in place.
In Your Hand (Less Recommended for Beginners): If you’re more experienced, you might hold the rear handle with your left hand, keeping your thumb wrapped around it. Your right hand will operate the throttle and starter cord. For beginners, the foot method is much safer.
Step 5: Set the Choke and Primer Bulb (If Applicable)
Choke: If your saw has a choke, move it to the “choke” or “start” position. This enriches the fuel mixture for cold starts.
Primer Bulb: If your saw has a primer bulb, press it several times (usually 5-10) until you see fuel circulating. This helps get fuel into the carburetor.
Step 6: Pull the Starter Cord
Grip the starter handle firmly with your right hand.
Pull the cord smoothly and steadily until you feel resistance.
Give it a sharp, firm pull. You don’t need to yank it out all the way.
Step 7: Adjust the Choke and Restart
First Pulls: After one or two pulls, the engine might sputter or try to start. If it does, move the choke to the “run” or “half-choke” position.
Subsequent Pulls: Continue pulling the starter cord. The engine should now fire up and run.
* Full Choke to Run: If you only moved the choke to half-choke, you might need to move it to the “run” position after the engine starts running smoothly.
Step 8: Warm Up the Engine
Let the chainsaw idle for a minute or two. This allows the engine to warm up properly and the chain oiler to start lubricating the bar and chain.
Step 9: Disengage the Chain Brake
Once the engine is running smoothly and you’re ready to cut, pull the chain brake lever back towards the front handle. The chain is now ready to move when you engage the throttle.
What If My Chainsaw Won’t Start? Troubleshooting for Beginners
It’s frustrating when a chainsaw doesn’t start. Here are some common reasons and simple fixes:
| Problem | Possible Cause | Solution
