
Quick Summary: Your hacksaw blade should be tight enough to produce a clear, high-pitched “ping” when plucked, with no visible sag. A properly tensioned blade cuts efficiently and safely, preventing breakage and ensuring cleaner results for your DIY projects.
Hey there, DIYer! Ever found yourself staring at a hacksaw, wondering if that blade is just right? It’s a common question, especially when you’re just starting out. A loose blade can lead to all sorts of frustrations: wobbly cuts, blades snapping unexpectedly, or just plain hard work. But don’t worry, getting that blade tension perfect is easier than you think. We’re going to walk through it step-by-step, so you can feel confident every time you pick up your saw. Let’s get your hacksaw ready for action!
Why Blade Tension Matters for Your Hacksaw
Think of your hacksaw blade like a guitar string. If it’s too loose, it won’t cut well, and it might even make an unpleasant sound. If it’s too tight, it could snap. The sweet spot is where the blade is held taut, allowing it to slice through materials cleanly and efficiently. Proper tension is key for a few big reasons:
- Clean Cuts: A tight blade stays straight as you saw, leading to straighter, cleaner cuts. A loose blade can wander, giving you jagged edges.
- Blade Longevity: When a blade is too loose, it can bend and flex more than it should. This extra stress can cause it to break prematurely.
- Safety: A blade that snaps while you’re sawing can be dangerous, sending sharp metal flying. Proper tension reduces the risk of unexpected breakage.
- Efficiency: A well-tensioned blade bites into the material better, making your sawing faster and requiring less effort.
So, getting this right isn’t just about a pretty cut; it’s about working smarter and safer. We’ll cover the best ways to check and adjust your hacksaw blade’s tightness.
Understanding Your Hacksaw
Before we dive into checking tightness, let’s quickly look at the parts of a typical hacksaw that help us achieve it. Knowing these will make the adjustment process much clearer.

- Hacksaw Frame: This is the U-shaped metal structure that holds the blade. Frames can be fixed-size or adjustable.
- Blade: The thin, toothed strip of metal that does the cutting.
- Tension Knob/Wing Nut: Located at the end of the frame (usually the front), this is what you turn to tighten or loosen the blade.
- Front and Rear Posts: These are the hooks at each end of the frame that hold the ends of the blade.
The magic happens with that tension knob. Turning it tightens a mechanism that pulls the blade taut between the two posts.
How to Properly Tension Your Hacksaw Blade
Getting the right tension involves a simple, repeatable process. It’s all about feeling and listening. Here’s how to do it:
Step 1: Select the Right Blade
Before you even think about tightening, make sure you have the correct blade for your task. Hacksaw blades come in different lengths and with different numbers of teeth per inch (TPI). For general metal cutting, a blade with 18-24 TPI is common. For finer work or thinner metals, you might use a blade with more TPI (like 32 TPI). For softer materials like plastic or wood, a coarser blade (around 14-18 TPI) might be better.
Choosing the right blade is crucial for effective cutting. The Popular Mechanics guide to hacksaw blades offers excellent advice on matching TPI to materials.
Step 2: Mount the Blade Correctly
Hacksaw blades have a specific way they need to be installed. Notice that the teeth on the blade are angled forward, away from the handle. The blade should be mounted so that the teeth point away from the handle. This is because you apply cutting pressure on the forward stroke of the saw.
Hook the hole at one end of the blade onto one of the posts on the hacksaw frame. Then, pull the other end of the blade towards the other post. You might need to flex the frame slightly to get the second end hooked on. Make sure the blade is seated properly on both posts.
Step 3: Begin Tightening
Once the blade is on the posts, find the tension knob or wing nut at the end of the hacksaw frame. Start turning it. You’ll feel resistance as the blade begins to stretch and tighten.
Turn the knob a few times, then stop. The goal is to make the blade taut, not to overtighten it immediately. You want to gradually increase the tension.
Step 4: The “Ping” Test (The Proven Tightness Method)
This is the most reliable way to check if your blade is tight enough. With the blade mounted and slightly tensioned, gently pluck the blade with your finger, like you would a guitar string. Listen to the sound it makes.
- Too Loose: If it makes a dull “thud” or a low, flabby sound, it’s too loose.
- Just Right: A properly tensioned blade will produce a clear, high-pitched “ping” or ringing sound.
This “ping” indicates that the blade is under sufficient tension to cut effectively without bending excessively. It’s a simple auditory cue that tells you the blade is taut.
Step 5: Check for Sag
While you’re plucking the blade, also look at it. Does it visibly sag or bend away from a straight line between the posts? If you can see it bowing or wobbling significantly, it’s not tight enough. The blade should appear straight and rigid.
You can also try gently pushing the side of the blade with your thumb. It should feel firm and resist bending easily. If it feels floppy or bends easily, keep tightening.
Step 6: Fine-Tune and Re-Test
If the blade doesn’t “ping” or feels too loose, turn the tension knob a little more. Then, pluck it again. Repeat this process, tightening in small increments and testing the sound and rigidity, until you get that clear “ping” and the blade feels firm.
Most hacksaws have a limited range of adjustment. You’ll reach a point where you can’t tighten it anymore. If you’ve tightened it as much as possible and it still doesn’t sound right or feels loose, it might be time to consider a new blade or even a new hacksaw if the frame is warped.
What “Tight Enough” Really Means: A Quick Guide
Let’s summarize what we’re aiming for:
| Indicator | What to Look For/Listen For | Meaning |
|---|---|---|
| Sound (Plucking) | Clear, high-pitched “ping” or ringing sound. | Blade is properly tensioned. |
| Visual (Sag) | Blade appears straight and rigid between posts. No visible bowing. | Blade is properly tensioned. |
| Feel (Pushing) | Blade feels firm and resists bending easily. | Blade is properly tensioned. |
| Sound (Plucking) | Dull “thud” or low, flabby sound. | Blade is too loose. |
| Visual (Sag) | Blade visibly bows or wobbles. | Blade is too loose. |
| Feel (Pushing) | Blade feels floppy and bends easily. | Blade is too loose. |
Remember, you’re aiming for that sweet spot where the blade is taut but not so over-tightened that it’s in danger of snapping. The “ping” test is your best friend here.
Common Mistakes to Avoid
Even with clear instructions, it’s easy to make a few common slips when first learning to tension a hacksaw blade. Here are some things to watch out for:
- Over-tightening: While you want it tight, cranking the knob too hard can snap the blade, especially thinner ones. Always tighten gradually and test.
- Under-tightening: This is more common for beginners. A loose blade leads to poor cuts and can cause the blade to jump out of the workpiece or frame. Always aim for that “ping.”
- Incorrect Blade Orientation: Mounting the blade backward (teeth pointing towards the handle) means it won’t cut on the push stroke, making your work much harder and less effective.
- Not Re-tensioning: If you remove a blade and then put a new one in, always go through the tensioning process. Don’t assume the old tension is still correct.
- Ignoring Blade Condition: A dull or damaged blade won’t cut well even if perfectly tensioned. Inspect your blade for wear and tear before you start.
Avoiding these common pitfalls will save you frustration and help you get the best results from your hacksaw.
When to Replace Your Hacksaw Blade
Even with perfect tension, a blade won’t last forever. Knowing when to swap it out is part of good tool maintenance. Here are signs your blade needs replacing:
- Dull Teeth: The most obvious sign. If you have to push much harder than usual, or the blade seems to be “skipping” over the material, the teeth are likely dull.
- Broken Teeth: If you see teeth that are chipped, missing, or bent, the blade is compromised. This can lead to rough cuts and can also be a safety hazard.
- Warping or Bending: If the blade itself has a permanent curve or bend in it, it won’t cut straight, no matter how well you tension it.
- Excessive Heat: When sawing metal, you’ll notice some heat. However, if the blade feels excessively hot or you see blue discoloration, it might be dull or you’re applying too much pressure, which can indicate the blade is past its prime.
- Poor Cutting Performance: Even if you don’t see obvious damage, if your cuts are suddenly rough, slow, or require excessive force, it’s probably time for a new blade.
Replacing a hacksaw blade is a straightforward process. Once you’ve finished cutting, loosen the tension knob until the blade is slack, unhook it from the posts, and dispose of the old blade safely.
Hacksaw Blade Tension: A Quick Comparison
Let’s look at how different levels of tension affect your cutting:
| Tension Level | Sound When Plucked | Blade Rigidity | Cutting Performance | Risk of Breakage |
|---|---|---|---|---|
| Too Loose | Dull thud, no ring. | Very flexible, sags easily. | Poor, rough cuts, blade wanders. | Low (but can jump out of workpiece). |
| Just Right | Clear, high-pitched “ping.” | Rigid, minimal sag. | Efficient, clean cuts, minimal effort. | Low. |
| Too Tight | Very high-pitched, tight “twang” (can be a warning). | Extremely rigid, no sag. | Can be good, but blade is stressed. | High (risk of snapping). |
The goal is always the “Just Right” column. It offers the best balance of performance, blade life, and safety.
Frequently Asked Questions (FAQ)
Here are some common questions beginners have about hacksaw blade tension:
- Q1: How often should I check my hacksaw blade tension?
- It’s a good practice to check the tension every time you use the saw, especially if you’ve just installed a new blade or if the saw has been stored for a while. A quick “ping” test takes only a second.
- Q2: My hacksaw has a wing nut. Is it different from a knob?
- No, it’s essentially the same function. A wing nut is just a type of fastener with “wings” that you can grip and turn with your fingers to adjust tension. The principle of tightening until you get the “ping” sound remains the same.
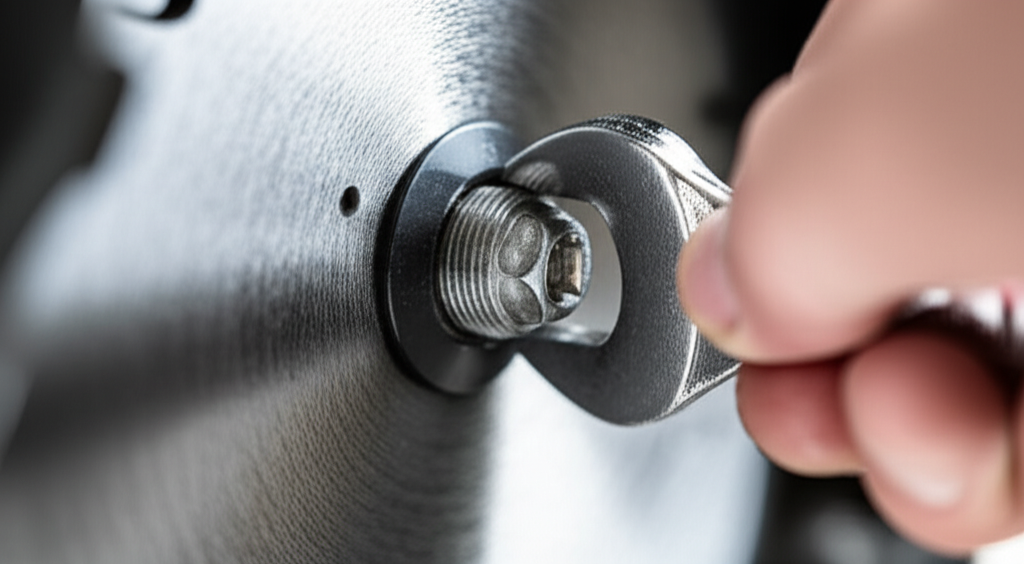
- Q3: Can I use a wrench to tighten my hacksaw blade?
- Most hacksaws are designed to be tensioned by hand using the knob or wing nut. Using a wrench can easily lead to over-tightening and snapping the blade. It’s best to stick to hand-tightening for safety and control.
- Q4: What if my hacksaw doesn’t have a tension knob?
- Some older or very basic hacksaws might have a lever or pin system. In these cases, you usually tighten it as much as you can by hand until the frame is taut. If you’re unsure, consult the saw’s manual or look for specific instructions for that model. For most modern saws, a tension knob is standard.
- Q5: My blade keeps breaking. What could be wrong?
- Several things can cause a blade to break: it might be too loose (causing it to bend and snap), too tight (over-stressed), you might be using the wrong type of blade for the material, or you could be applying too much downward pressure or not using the full length of the blade when sawing. Always ensure proper tension and a smooth, consistent stroke.
- Q6: How do I safely dispose of a broken hacksaw blade?
- Broken blades are sharp! It’s best to place them in a sturdy container, like a thick cardboard box or a metal can, and label it clearly as “Broken Glass” or “Sharp Objects.” Then, dispose of it in your regular trash, or check with your local waste management for specific guidelines on sharp object disposal.
Conclusion
Mastering the tension on your hacksaw blade is a fundamental skill that will dramatically improve your cutting experience. By listening for that satisfying “ping” and ensuring the blade is straight and firm, you’re setting yourself up for success. No more frustratingly crooked cuts or unexpected blade snaps!
Remember, it’s about finding that balance – tight enough to cut cleanly, but not so tight that it risks breaking. With a little practice, this simple check will become second nature. So go ahead, grab your hacksaw, tension that blade correctly, and get ready to tackle your next project with confidence. Happy sawing!