Yes, a coping saw can cut plastic! With the right blade and technique, you can achieve clean, precise cuts in various plastic materials, making it a surprisingly versatile tool for DIY projects.
Working with plastic can sometimes feel like a puzzle, especially when you need a clean, curved cut. Many beginners worry about melting, cracking, or just getting a messy edge. It’s easy to think you need a fancy power tool, but often, a simple coping saw is all you need. If you’ve ever found yourself with a piece of plastic and a project that requires a specific shape, you’re in the right place. We’re going to break down exactly how to use your coping saw to make those plastic cuts look effortless. Get ready to unlock a new level of precision in your projects!
Understanding Your Coping Saw for Plastic Projects
A coping saw, at its heart, is designed for intricate curves and shapes, primarily in wood. However, its fine blade and controlled movement make it surprisingly adept at cutting through various types of plastic. The key to success lies in understanding the saw itself and how to adapt its use for plastic materials.
What is a Coping Saw?
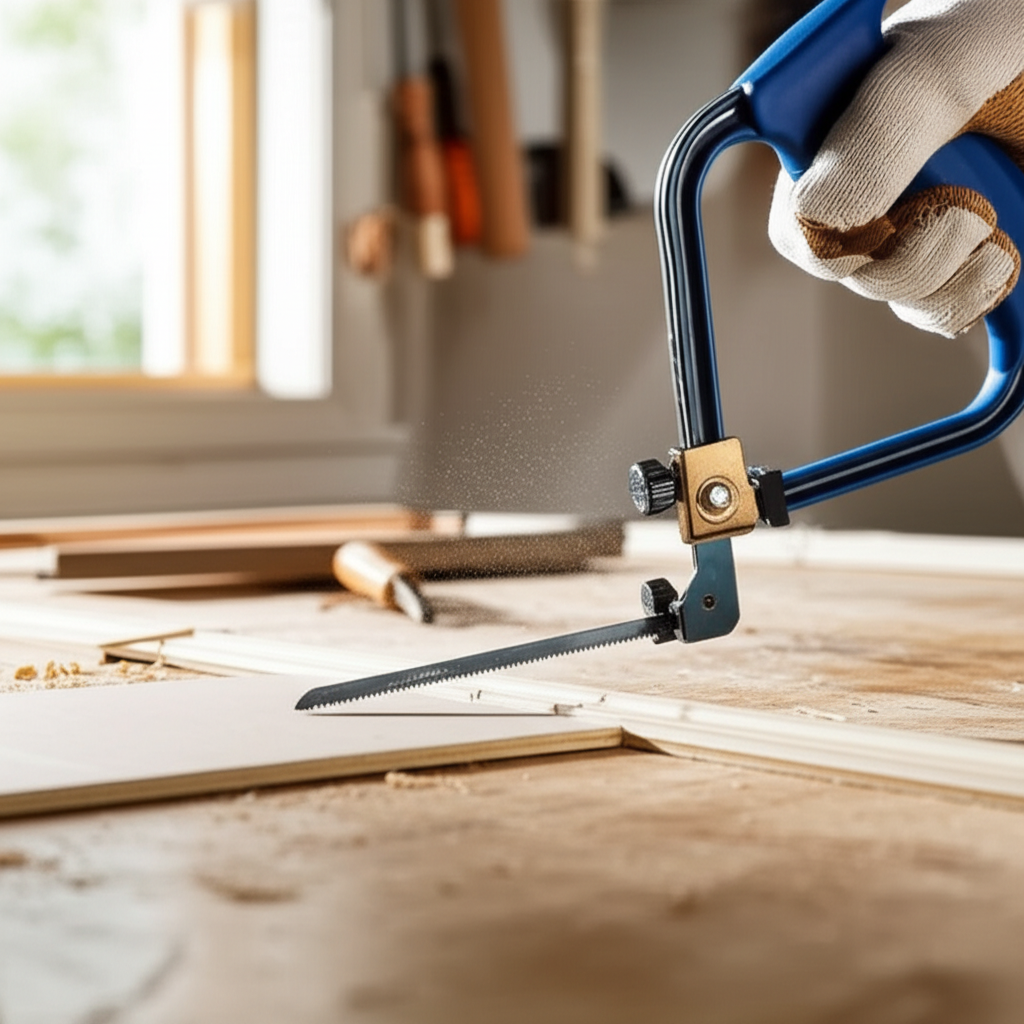
A coping saw is a type of handsaw that features a thin, narrow blade held under tension by a U-shaped frame. This design allows for a great deal of maneuverability, making it ideal for cutting tight curves, internal shapes, and decorative patterns. The blade can also be rotated within its frame, enabling cuts in multiple directions without having to turn the workpiece.
Why Use a Coping Saw for Plastic?
While power tools like rotary saws or jigsaw can cut plastic, a coping saw offers distinct advantages for smaller projects or when precision is paramount:
- Control: You have direct, hands-on control over the cut, which is invaluable for intricate designs.
- Cleanliness: With the right blade and speed, you can achieve very smooth edges, minimizing the need for sanding.
- Portability: It’s lightweight and doesn’t require electricity, making it perfect for on-the-go projects or areas without power.
- Cost-Effective: Coping saws are generally inexpensive, making them an accessible tool for any DIYer.
Choosing the Right Blade: The Secret to Cutting Plastic
This is arguably the most crucial step. Using a blade designed for wood on plastic can lead to frustration, melted plastic, and a dull blade. For cutting plastic, you need a blade that can slice cleanly without generating excessive heat.
Blade Types and Their Suitability
Coping saw blades come in various tooth configurations and materials. For plastic, you’ll want to look for:
- Fine-Tipped Blades: These have smaller, sharper teeth that are spaced closely together. This reduces the chance of chipping or melting the plastic.
- Metal-Cutting Blades: While you might not be cutting metal, blades designed for softer metals often have the right tooth count and sharpness for plastics. Look for blades with a higher TPI (Teeth Per Inch).
- Reverse-Tooth Blades: Some specialized blades have a reverse tooth pattern. The standard teeth cut on the push stroke, but a reverse tooth on the bottom of the blade cuts on the pull stroke, which can help prevent tear-out and chipping on the underside of the plastic.
Here’s a quick comparison:
| Blade Type | Teeth Per Inch (TPI) | Best For | Plastic Suitability |
|---|---|---|---|
| Wood Blade (Coarse) | 10-15 TPI | Rough wood cutting | Poor – can melt/chip |
| Wood Blade (Fine) | 16-24 TPI | Detail wood work | Fair – may still chip |
| Metal Blade (Fine) | 24-32 TPI | Soft metals, tubing | Good – clean cuts |
| Jeweler’s/Saw Blade | 50+ TPI | Very fine detail, metal | Excellent – very clean |
When in doubt, opt for a fine-toothed blade (24 TPI or higher). You can often find blades specifically marketed for plastics or soft metals at your local hardware store or online.
Installing the Blade
Proper blade installation is key for both safety and cutting performance.
- Loosen the Tension: Twist the handle of your coping saw to loosen the tension on the blade.
- Insert the Blade: Place the blade into the frame, ensuring the teeth are pointing away from the handle (towards the front of the saw). The pins at the end of the blade should fit into the slots on the frame.
- Tighten the Tension: Twist the handle back to put tension on the blade. The blade should be taut, like a guitar string. Too loose, and it will bend or break; too tight, and you risk snapping it. A good test is to pluck it gently – it should make a slight “ping” sound.
- Check Blade Direction: Ensure the teeth are facing the correct way for your intended cut (usually away from the handle).
Many modern coping saws allow you to rotate the blade within the frame. If you’re making a curved cut, you might want to orient the blade perpendicular to the frame to give yourself more clearance.
Preparing Your Plastic and Workspace
Before you even pick up the saw, a little preparation goes a long way. This ensures accuracy and safety.
Marking Your Cut Line
Use a fine-tip marker or a sharp pencil to draw your cut line clearly on the plastic. For very precise work, you might consider scoring the line with a craft knife or a marking awl. This can help guide the blade and prevent it from wandering.
Securing the Plastic
This is critical for a safe and accurate cut. The plastic must be held firmly so it doesn’t shift during sawing.
- Clamps: Use C-clamps or bar clamps to secure the plastic to your workbench. Ensure the clamps are positioned so they don’t interfere with the saw’s movement but hold the workpiece rigidly.
- Workbench Holdfasts: If your workbench has holdfasts, they can be an excellent way to secure larger pieces.
- Vise: A bench vise can work for smaller pieces, but be careful not to overtighten and crack the plastic. Use a piece of scrap wood or thick cardboard as a buffer.
It’s often best to have the cut line slightly overhanging the edge of the workbench or support, allowing the saw blade to move freely without hitting the bench.
The Step-by-Step Process: Cutting Plastic with a Coping Saw
Now for the actual cutting. Remember, patience and a steady hand are your best tools here.
Starting the Cut
Begin the cut at the edge of the plastic, following your marked line. If you’re cutting an internal shape (like a hole), you’ll need to drill a pilot hole large enough for the blade to pass through. Thread the blade through the hole, reattach it to the frame, and then begin sawing.
The Sawing Motion
This is where technique makes all the difference. Avoid forcing the saw.
- Use Smooth Strokes: Let the blade do the work. Use long, smooth strokes, moving the saw back and forth.
- Maintain Consistent Pressure: Apply gentle, consistent pressure on both the push and pull strokes.
- Keep the Blade Perpendicular: Try to keep the blade as perpendicular to the surface of the plastic as possible. This helps prevent the blade from binding or snapping.
- Follow the Line: Keep your eye on the line and make small adjustments to the saw’s angle as needed to follow curves. If the blade starts to bind, ease up on the pressure or try a slightly different angle.
- Clear Debris: Periodically stop and clear any plastic dust or shavings that build up. A small brush or compressed air can be helpful.
Dealing with Curves and Corners
Coping saws excel at curves. For tight curves:
- Slow Down: Reduce your stroke speed.
- Shorten Strokes: Use shorter, more controlled strokes.
- Pivot: Gently pivot the saw frame around the curve. You can also rotate the blade in its holder if your saw allows, which can give you more clearance.
- Back Up if Needed: If you find yourself fighting the blade, it’s okay to back up a bit and try again.
For inside corners, you might need to make a relief cut (a small cut extending from the corner point) to allow the blade to turn cleanly.
Finishing the Cut
As you approach the end of the cut, be extra careful. The piece you’re cutting off might fall away, potentially splintering the edge of your main piece. Support both pieces as you complete the cut. You can also reduce the stroke length and pressure as you near the end.
What Types of Plastic Can a Coping Saw Cut?
The effectiveness of a coping saw on plastic depends heavily on the type of plastic. Thinner, less dense plastics are generally easier to cut cleanly.
Suitable Plastics
- Acrylic (Plexiglass): Thin sheets (up to 1/8 inch or 3mm) can be cut with a fine-toothed blade. Thicker acrylic is more prone to chipping and cracking.
- Polystyrene: Commonly found in craft sheets and some packaging, this is generally easy to cut.
- ABS Plastic: Used in many consumer goods and automotive parts, ABS can be cut, though it might require a slightly more robust fine-tooth blade.
- PVC (Thin): Thin PVC sheets or pipes can be cut, but be mindful of potential melting if you use too much friction.
Plastics to Approach with Caution
- Thick Plastics: Any plastic over 1/4 inch (6mm) can be challenging and may require specialized blades or power tools.
- Very Hard Plastics: Some engineering plastics might be too hard for a standard coping saw blade.
- Flexible Plastics: Very flexible plastics can be difficult to hold steady and may deform rather than cut cleanly.
It’s always a good idea to test your technique on a scrap piece of the same plastic material before committing to your project piece.
Tips for a Smoother Finish and Avoiding Common Problems
Even with the right blade, a few extra tricks can elevate your plastic cutting game.
Preventing Melting
Heat is the enemy when cutting plastic with a saw. Excessive friction causes melting, which gums up the blade and creates a messy edge.
- Use a Lubricant: A light application of soapy water or a specialized plastic cutting lubricant can help reduce friction and heat. Apply it sparingly to the blade and the cut line.
- Slower Speeds: Don’t saw too fast. A steady, moderate pace is better than a rapid sawing motion.
- Sharp Blade: A sharp, fine-toothed blade cuts more efficiently, generating less heat.
Preventing Chipping and Cracking
Chipping and cracking are common issues, especially with brittle plastics like acrylic.
- Support the Workpiece: Ensure the plastic is well-supported, especially near the cut line.
- Support the Offcut: As you finish a cut, support the piece you are cutting off. This prevents it from breaking away jaggedly.
- Drill Pilot Holes: For internal cuts, drill a pilot hole slightly larger than the blade’s width.
- Consider Scoring: For very brittle plastics, scoring the line with a sharp blade can help guide the saw and prevent splintering.
When to Use a Power Tool Instead
While the coping saw is versatile, it has its limits. For very thick plastics, very hard plastics, or very long, straight cuts where precision isn’t paramount, a power tool might be more efficient. Jigsaws with appropriate blades or even a sharp utility knife (for very thin plastics) can be better choices in those scenarios.
Maintaining Your Coping Saw
A well-maintained tool is a reliable tool. Your coping saw is no different.
- Clean the Frame: Wipe down the frame after use to remove dust and debris.
- Store Blades Properly: Keep spare blades in their original packaging or a blade dispenser to prevent damage and injury.
- Check Tension Mechanism: Ensure the handle for adjusting tension turns smoothly.
The blades themselves are consumables. Once they become dull or damaged, they should be replaced. You can find replacement blades at most hardware stores.
FAQ: Your Coping Saw and Plastic Questions Answered
Q1: Can I use a regular wood-cutting coping saw blade on plastic?
A1: While you can try, it’s not recommended. Standard wood blades, especially those with coarser teeth, are likely to melt, chip, or crack the plastic, leading to a poor finish and potentially damaging the blade. Opt for fine-toothed blades designed for metal or plastic.
Q2: What’s the best way to start a cut in the middle of a plastic sheet?
A2: You’ll need to drill a pilot hole first. The hole should be just large enough for your coping saw blade to pass through. Thread the blade through the hole, secure it in the frame, and then begin sawing from the pilot hole along your marked line.
Q3: My plastic is melting when I cut it. What am I doing wrong?
A3: Melting is usually caused by too much friction and heat. Try using a finer-toothed blade, reducing your sawing speed, applying less pressure, and using a lubricant like soapy water on the blade.
Q4: How do I get really clean, smooth edges on plastic?
A4: Clean edges come from a sharp, fine-toothed blade, a steady hand, and slow, controlled strokes. Supporting the workpiece and the offcut piece as you finish the cut also helps prevent chipping. You may still need a light sanding with fine-grit sandpaper or a polishing compound for a perfectly smooth finish.
Q5: Is a coping saw good for cutting thick plastic?
A5: Coping saws are best suited for thinner plastics, generally up to about 1/8 inch to 1/4 inch (3-6mm). For thicker plastics, you’ll likely find it very difficult and may damage the saw or the plastic. Consider a jigsaw with an appropriate blade or a rotary tool for thicker materials.
Q6: How do I prevent the plastic from chipping when I cut?
A6: Chipping is common with brittle plastics. Ensure your blade is sharp and fine-toothed. Support the plastic well, and as you near the end of a cut, support the piece you are cutting off. For very brittle materials, scoring the cut line with a sharp knife can also help guide the saw and minimize chipping.
Conclusion: Your New Skill Unlocked
Cutting plastic with a coping saw might seem daunting at first, but as you’ve seen, it’s a skill that’s well within reach for any DIYer. By selecting the right blade, preparing your workspace, and employing a steady, controlled sawing motion, you can achieve surprisingly clean and precise cuts. Remember to always prioritize safety, secure your workpiece, and let the tool do the work. Practice on scrap pieces, and don’t be afraid to experiment with different blades and techniques. With a little patience and these tips, your coping saw will become an indispensable tool for all sorts of plastic projects, from intricate craftwork to functional home repairs. Happy cutting!