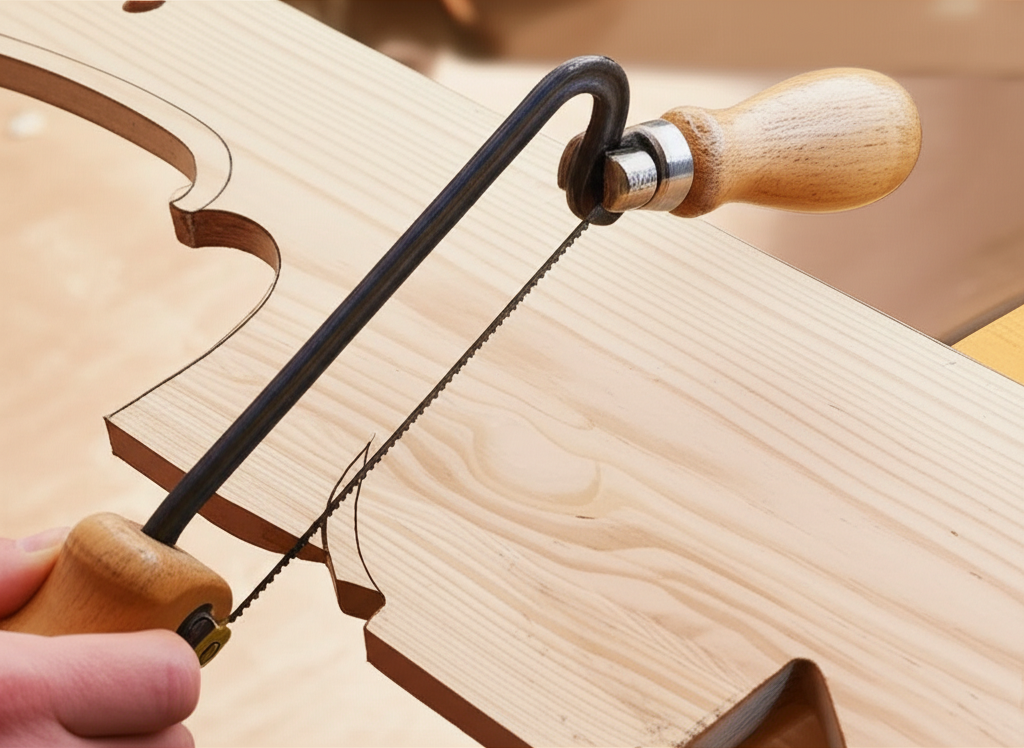
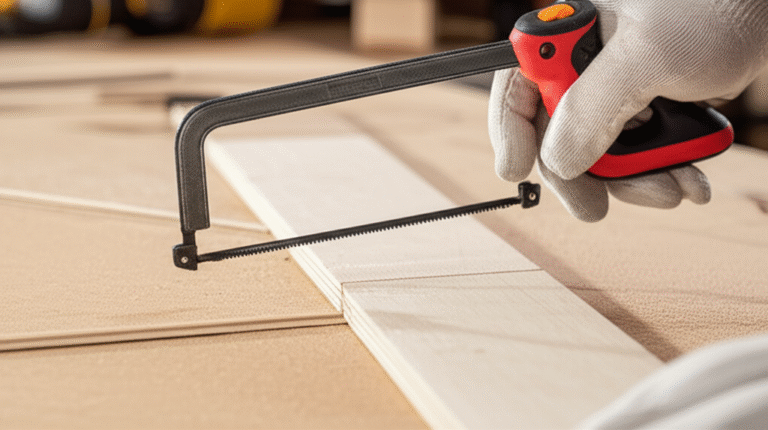
A coping saw works by using a thin, flexible blade held under tension in a U-shaped frame to make intricate curved cuts in various materials like wood, plastic, and thin metal. Its design allows for precise control, making it ideal for detailed joinery and decorative work.
Ever found yourself staring at a piece of wood, a tricky corner, or a decorative edge, wishing you had a tool that could just dance through the material? That’s where the humble coping saw shines. It might look a little unusual with its thin blade and sturdy frame, but this tool is a secret weapon for anyone looking to add detail and finesse to their projects. Don’t let its delicate appearance fool you; with a little understanding, you’ll be making clean, precise cuts in no time. We’ll break down exactly how this versatile saw operates, making those intricate cuts feel easy and intuitive.
Understanding the Anatomy of a Coping Saw
Before we dive into how it works, let’s get acquainted with the parts. Knowing each component helps you understand its function and how to use it effectively.
The Frame: This is the U-shaped metal structure that gives the coping saw its distinctive shape. It provides the rigidity needed to hold the blade taut. The depth of the “U” determines how far into a workpiece you can cut.
The Blade: This is the cutting edge. Coping saw blades are very thin and narrow, with teeth on one edge. They are designed to be flexible and replaceable. The number of teeth per inch (TPI) on the blade is crucial for the type of cut you’ll make.
The Pins: At each end of the blade are small pins that fit into slots or holes in the handle and the front of the frame. These pins secure the blade.
The Handle: This is where you grip the saw. It can be a simple peg or a more ergonomic design.
The Tensioning Mechanism: Most modern coping saws have a mechanism, usually a spring-loaded lever or a screw at the end of the frame, that allows you to increase the tension on the blade. This is vital for a clean cut.
The Core Principle: Tension and Blade Design
So, how does a coping saw work? The magic lies in the combination of blade tension and the blade’s design.
1. Tension is Key: The frame, combined with the tensioning mechanism, pulls the thin blade taut. Think of it like a miniature bow and arrow. This tension is what allows the thin blade to cut without buckling or bending excessively. If the blade is too loose, it will wander and make a rough cut. If it’s too tight, it can snap.
2. The Thin, Flexible Blade: Coping saw blades are incredibly thin and have a narrow kerf (the width of the cut). This thinness is what allows the saw to navigate tight curves and intricate shapes. The flexibility means the blade can bend slightly as it follows the contour of your cut without breaking, especially when the blade is properly tensioned.
3. Tooth Direction: The teeth on a coping saw blade are angled to cut on the pull stroke, not the push. This is a common characteristic of many saws, but it’s particularly important for the control and precision offered by a coping saw. Pulling the saw towards you allows for better control and reduces the chance of the blade binding or breaking.
Choosing the Right Blade: The Secret to Success
The blade is the business end of your coping saw, and picking the right one makes all the difference. Blades vary in thickness, width, and the number of teeth per inch (TPI).
Here’s a quick guide to blade selection:
High TPI (15-32 TPI): These blades are for finer cuts. They’re excellent for hardwoods, thin plastics, and making very smooth, detailed curves. They leave a cleaner finish but cut slower.
Low TPI (10-14 TPI): These blades are for faster cutting and softer materials like softwoods, plywood, and thicker plastics. They leave a rougher finish but remove material more quickly.
Blade Thickness and Width:
| Blade Type | Thickness | Width | Best For |
| :—————- | :——– | :—— | :————————————————— |
| Standard | Thin | Narrow | General purpose, curves, intricate cuts |
| Jeweler’s Saw | Very Thin | Very Narrow | Extremely fine detail, metal, hard plastics, jewelry |
| Fretsaw Blade | Slightly Thicker | Slightly Wider | Larger curves, less intricate detail, general woodworking |
When you’re starting out, a good all-around blade with around 15-20 TPI is a great choice for general woodworking and trim work.
How to Load a Coping Saw Blade
Loading the blade correctly is crucial for safety and effectiveness. It’s a simple process, but getting it right ensures your saw works as intended.
Tools You’ll Need:
Your coping saw
Your chosen coping saw blade
A vise (optional, but helpful for holding the frame)
Step-by-Step Loading:
1. Loosen Tension: If your saw has a tensioning mechanism, loosen it completely. This will give you plenty of play to insert the blade.
2. Orient the Blade: Look at your blade. The teeth should point away from the handle, towards the front of the frame. This ensures the blade cuts on the pull stroke.
3. Insert the Pins:
Start by inserting the pin at one end of the blade into the slot or hole in the handle.
Now, bend the frame slightly outwards to create tension. This is where a vise can be helpful to hold the frame steady.
With the frame bent, insert the pin at the other end of the blade into the slot or hole at the front of the frame.
4. Apply Tension: Once both pins are seated, gradually release the tension on the frame (or tighten the tensioning mechanism). You want the blade to be taut, but not so tight that it looks like it’s about to snap. A good rule of thumb is that you should be able to pluck the blade and get a faint, high-pitched “ping” sound. If it sounds dull or thud-like, it’s too loose. If it’s a very sharp, high-pitched sound, it might be too tight.
5. Check Alignment: Ensure the blade is running straight within the frame and not twisted.
How to Use a Coping Saw for Accurate Cuts
Now that your saw is loaded and tensioned, let’s get cutting! Precision is the name of the game with a coping saw.
Preparation:
Secure Your Workpiece: Always clamp your workpiece firmly to a workbench or sawhorse. Ensure the area you’ll be cutting is well-supported and accessible.
Mark Your Cut Line: Use a pencil or marking knife to clearly mark the line you want to cut. For intricate curves, a well-defined line is your best friend.
Positioning: Stand comfortably, with good balance. You want to be able to move the saw smoothly without straining.
The Cutting Process:
1. Start the Cut: Position the blade on your marked line. Begin by gently pulling the saw towards you. Use smooth, controlled strokes.
2. Maintain Blade Direction: Keep the blade perpendicular to the surface of the wood as much as possible. The frame should guide you, but your wrist and arm control the direction.
3. Follow the Line: Let the teeth do the work. Don’t force the saw. Focus on guiding the blade along your marked line. For tight curves, you’ll often need to pivot the workpiece as you cut, rather than just moving the saw.
4. Clear Sawdust: Periodically lift the saw slightly and blow away sawdust from the cut line. This helps you see your line and prevents the blade from binding.
5. Blade Binding: If the blade starts to bind, stop immediately. Try to gently back the saw out. If you’re cutting a tight curve, you might need to slightly adjust the angle of the saw or the workpiece.
6. Finishing the Cut: As you approach the end of a cut, especially on the edge of a board, be mindful of the waste piece. You might want to support it to prevent it from breaking off prematurely and splintering the edge.
Mastering Curves and Intricate Shapes
This is where the coping saw truly excels. Its thin blade allows for maneuvers that other saws can’t manage.
Tight Radii: For very tight curves, you’ll find yourself pivoting the workpiece more than moving the saw. Keep the saw blade moving smoothly in one direction (usually a gentle pull) and rotate the wood beneath it.
Inside Corners: To cut an internal corner, you might need to drill a small starting hole within the waste material to allow the blade to pass through. Then, thread the blade through the hole, re-tension it, and cut your line. This is a common technique for making “cope joints” in molding.
* Blade Twist: Be aware that the blade can twist. If you’re making a cut where the blade is nearly parallel to the face of the wood, the blade is more susceptible to bending or breaking. Take it slow and easy in these situations.
Coping Saw vs. Other Saws: When to Choose What
Understanding the strengths of a coping saw helps you pick the right tool for the job.
| Saw Type | Best For

