
Hole saw stainless steel easily and precisely with the right technique and a quality carbide-tipped or specialized stainless steel hole saw. Start slow, use lubricant, and apply steady pressure for clean cuts. This guide breaks down the genius essentials for success.
Cutting a clean hole in stainless steel might seem daunting, especially if you’re new to using a hole saw. Stainless steel is tough, and using the wrong tools or methods can lead to frustrating results – think dull teeth, overheating, or jagged edges. But don’t worry! With the right knowledge and a few key tips, you can achieve professional-looking results. This guide will walk you through everything you need to know, step-by-step, so you can tackle your stainless steel projects with confidence.
Why Stainless Steel Demands Special Attention
Stainless steel is a fantastic material for many applications due to its strength, durability, and resistance to corrosion. However, these same properties make it harder to cut than softer metals like aluminum or mild steel. Its high tensile strength means it resists deformation, and its ability to work-harden can quickly dull standard cutting tools if not used correctly. For a beginner, this translates to a higher risk of tool damage, slow cutting speeds, and subpar hole quality. Understanding these challenges is the first step to overcoming them.
Choosing the Right Hole Saw for Stainless Steel
Not all hole saws are created equal, especially when it comes to stainless steel. The material of the hole saw and its tooth design are critical. Here’s a breakdown of what to look for:
Types of Hole Saws and Their Suitability
- Carbide-Tipped Hole Saws: These are generally the best choice for stainless steel. They feature small, extremely hard carbide teeth brazed onto a steel body. Carbide is significantly harder than high-speed steel (HSS) and can withstand the heat and abrasion generated when cutting stainless steel. Look for those specifically designed for metal cutting.
- Bi-Metal Hole Saws: While bi-metal hole saws (made of HSS teeth welded to a flexible spring steel body) are versatile and good for many metals, they can struggle with thicker or harder grades of stainless steel. If you’re cutting thin gauge stainless steel or only doing occasional light work, a high-quality bi-metal saw might suffice, but it will likely wear out faster and cut slower than a carbide-tipped option.
- Diamond Grit or Grit Edge Hole Saws: These are primarily for very hard, brittle materials like ceramic tile, glass, or stone. They are not suitable for cutting solid metal like stainless steel.
- Tungsten Carbide Grit Hole Saws: Similar to diamond grit, these are designed for abrasive materials, not ductile metals like stainless steel.
Key Features to Consider
- Tooth Configuration: For stainless steel, a variable pitch tooth design is beneficial. This means the teeth have different spacing and angles along the saw’s circumference. This helps to break up the chips into smaller pieces, reducing clogging and heat buildup.
- Depth of Cut: Ensure the hole saw has a sufficient depth of cut for your material thickness. Most standard hole saws cut up to 1-1/2 inches.
- Arbor Compatibility: Make sure the hole saw you choose has an arbor (the shank that fits into your drill) that is compatible with your drill. Common arbors are 3/8-inch or 1/2-inch round or hex shanks.
- Pilot Drill Bit: A sharp, high-quality pilot drill bit is essential for starting the cut accurately and preventing the hole saw from wandering.
Recommended Hole Saws for Stainless Steel
When selecting a hole saw for stainless steel, prioritize carbide-tipped options. Brands known for quality metal-cutting hole saws often include:
- Lenox
- Milwaukee
- Hole Dozer (Diablo)
- Starrett
Always check the product description to confirm if the hole saw is rated for stainless steel. For instance, Milwaukee’s Big Hawg™ or Lenox’s specific carbide-tipped metal cutting hole saws are often good indicators.
Essential Tools and Materials
Before you start, gather all the necessary tools and materials to ensure a smooth and safe operation. Having everything ready will save you time and prevent interruptions.
Your Toolkit Checklist:
- Drill: A powerful corded drill with variable speed control is highly recommended. An impact driver is generally NOT suitable for hole saws. Aim for a drill with at least 7-10 amps for best results.
- Hole Saw Set: A carbide-tipped hole saw kit specifically designed for metal, or individual carbide-tipped hole saws in the sizes you need.
- Arbor: The correct arbor to fit your hole saw and drill chuck.
- Cutting Fluid or Lubricant: Essential for cooling the cutting edge and the material, reducing friction, and extending the life of your hole saw. Specialized cutting fluids for metal are best.
- Safety Glasses: Always wear safety glasses to protect your eyes from flying debris.
- Work Gloves: Protect your hands from sharp edges and heat.
- Clamps: To securely hold your workpiece in place.
- Center Punch: To create a starting dimple for the pilot bit.
- Hammer: To use with the center punch.
- Wire Brush: To clean debris from the hole saw and workpiece.
- Rag or Paper Towels: For applying lubricant and cleaning up.
- Deburring Tool: To smooth the edges of the hole after cutting.
Step-by-Step Guide: How to Hole Saw Stainless Steel
Cutting stainless steel with a hole saw requires patience and the right technique. Follow these steps for a clean, successful cut:
Step 1: Secure Your Workpiece
This is a crucial safety step. Stainless steel can move unexpectedly during the cutting process. Use strong clamps to firmly secure the stainless steel sheet or pipe to your workbench. Ensure there is no play or movement. If you’re drilling into a pipe, consider a pipe clamp or a jig to keep it stable.
Step 2: Mark Your Hole Location
Use a marker or scribe to accurately mark the center of the hole you want to cut. Then, use a center punch and hammer to create a small indentation at the marked center. This dimple will guide the pilot drill bit and prevent the hole saw from “walking” across the surface.
Step 3: Install the Hole Saw and Arbor
Attach the correct size hole saw to the arbor. Most arbors have a set screw to secure the hole saw. Ensure it’s tightened properly. Then, insert the arbor into your drill chuck and tighten it securely. Make sure the pilot bit is also firmly in place.
Step 4: Set Up Your Drill
Set your drill to a slow speed setting. High speeds generate excessive heat, which is the enemy of hole saws and stainless steel. For most stainless steel applications with a hole saw, speeds between 50-200 RPM are generally recommended, depending on the hole saw diameter and drill power. Consult your hole saw manufacturer’s recommendations if available.
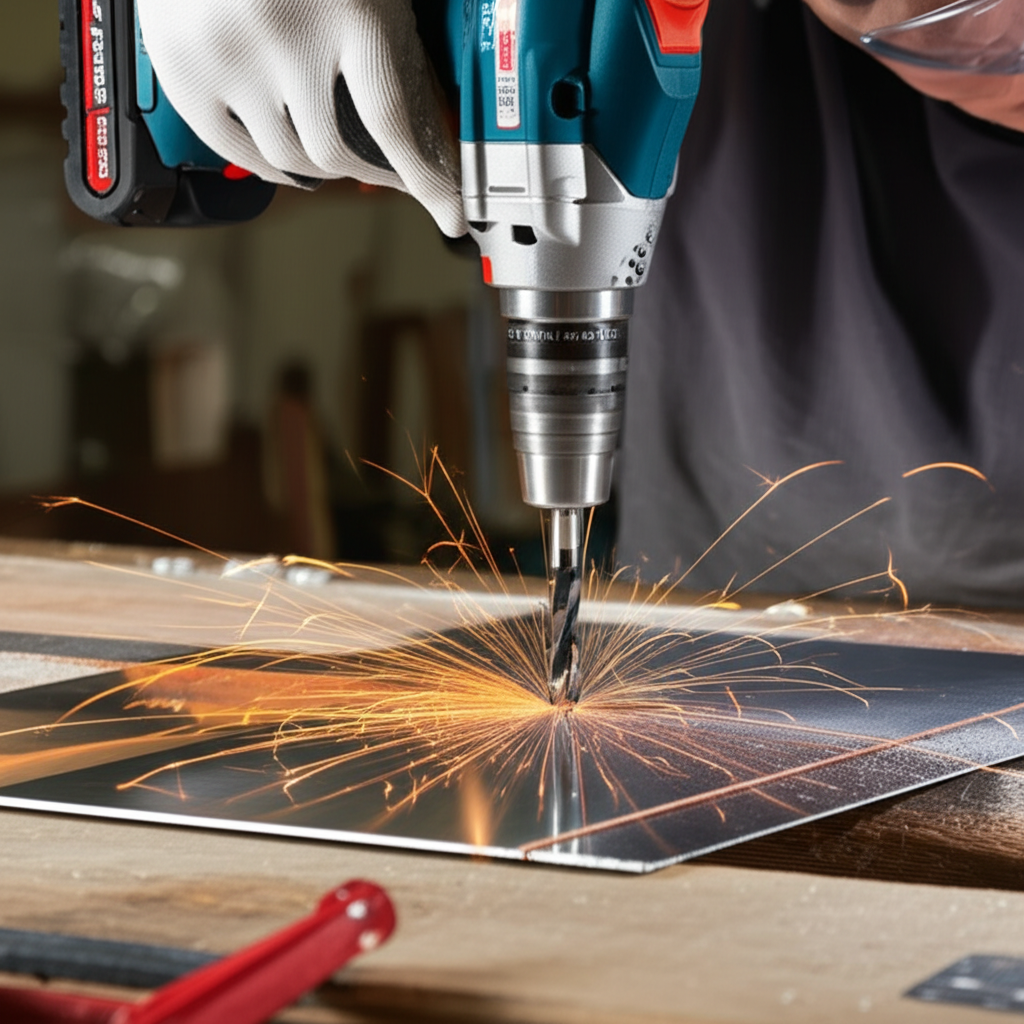
Step 5: Begin the Cut
Position the pilot drill bit in the center punch dimple. Apply steady, firm pressure to start the cut. Let the drill do the work; don’t force it. As the hole saw begins to bite into the material, you’ll see small metal shavings. This is normal.
Step 6: Apply Lubricant Consistently
This is perhaps the most critical step for cutting stainless steel. Apply cutting fluid or lubricant liberally to the cutting area as soon as the pilot bit starts to cut. Reapply frequently throughout the drilling process. The lubricant cools the blade and the workpiece, preventing overheating and extending the life of your hole saw. You can also try periodically lifting the drill slightly to allow lubricant to get into the cut.
Step 7: Maintain Steady Pressure and Speed
Continue drilling with consistent, moderate pressure. Avoid jerky movements. If the drill starts to bog down, ease up on the pressure slightly. The variable pitch teeth on good hole saws will help manage chip load. Periodically retract the hole saw a little (while still spinning slowly) to clear chips and reapply lubricant.
Step 8: Complete the Cut
As you get close to breaking through the material, reduce the pressure significantly. This prevents the teeth from snagging and damaging the edge of the hole or the workpiece. Once the pilot bit has passed through the material, you can stop the drill.
Step 9: Remove the Hole Saw and Eject the Plug
Carefully remove the drill from the workpiece. The cut-out metal plug will likely be held in the hole saw by the arbor. Most arbors have a spring-loaded mechanism or a way to push the plug out from the back. Use a screwdriver or punch to help eject the plug if necessary.
Step 10: Deburr the Hole
The edges of the hole will be sharp and may have some burrs. Use a deburring tool, a file, or even sandpaper to smooth the edges for safety and a cleaner finish. A wire brush can also be used to clean any remaining metal shavings.
Troubleshooting Common Issues
Even with the best preparation, you might encounter a few snags. Here’s how to deal with them:
- Hole Saw Not Cutting: Ensure you have the correct type of hole saw (carbide-tipped), that your drill is set to a slow speed, and that you are applying enough pressure. Check if the teeth are dull.
- Overheating: This is usually due to insufficient lubrication or drilling too fast. Stop drilling, let the tools cool down, and apply more lubricant.
- Pilot Bit Wandering: Make sure you’ve created a good center punch mark. If it’s still an issue, you can try drilling a small pilot hole with a standard drill bit first, then use that to guide the hole saw’s pilot bit.
- Jagged Edges: Reduce pressure as you near the end of the cut. Ensure your hole saw teeth are sharp and that you are using lubricant.
- Drill Overheating/Straining: You might be using a drill that’s not powerful enough, or you’re trying to cut too aggressively. Slow down, use less pressure, and ensure good lubrication. For very thick stainless steel, a more powerful drill or even a drill press might be necessary.
Tips for Extending Hole Saw Life
Your hole saws are an investment. Here’s how to keep them cutting effectively:
- Always use lubricant. This is the single most important factor.
- Use the correct speed. Slower is better for stainless steel.
- Don’t force the cut. Let the teeth do the work.
- Periodically clear chips. Backing out slightly helps with cooling and chip removal.
- Store them properly. Keep them dry and free from damage.
- Use the right hole saw for the material. Don’t try to cut ceramic with a metal hole saw, or thick stainless steel with a wood hole saw.
Understanding RPM and Cutting Speed
The relationship between the hole saw’s diameter and the drill’s rotational speed (RPM) is crucial for efficient and safe cutting. Generally, larger diameter hole saws require slower RPMs. This is because the teeth on the outer edge of a larger saw travel a greater distance with each rotation, generating more heat and requiring more force.
A good rule of thumb for cutting metals like stainless steel is to use the slowest speed setting on your drill. Here’s a simplified chart, but always refer to your hole saw manufacturer’s specific recommendations:
| Hole Saw Diameter | Recommended RPM Range |
|---|---|
| 1/2″ – 1″ | 200 – 400 RPM |
| 1″ – 2″ | 100 – 250 RPM |
| 2″ – 3″ | 50 – 150 RPM |
| 3″ + | 25 – 100 RPM |
Note: These are approximate values. Always prioritize the manufacturer’s specifications for your specific hole saw and drill. For very hard or thick stainless steel, even lower RPMs might be necessary.
For more detailed information on cutting speeds and feeds for various metals, resources like Machinery Lubricants offer in-depth technical guides.
When to Consider a Drill Press
While a powerful hand drill can handle many stainless steel hole sawing tasks, a drill press offers significant advantages, especially for larger diameter holes or thicker materials:
- Stability: A drill press provides a stable platform, ensuring the hole saw cuts straight and true without the risk of the drill twisting in your hands.
- Consistent Pressure: It allows for much more consistent and controlled pressure application.
- Speed Control: Many drill presses offer a wider range of precise speed settings, which is ideal for optimizing cutting speed for stainless steel.
- Reduced Fatigue: It’s less physically demanding than holding a heavy drill for extended periods.
If you frequently work with stainless steel or need to make precise, repeated cuts, investing in a drill press can be a worthwhile upgrade. Ensure the drill press has a slow speed setting suitable for metal cutting, and always use a vise or clamps to secure your workpiece.
Frequently Asked Questions (FAQ)
Q1: Can I use a regular bi-metal hole saw on stainless steel?
You can, but it’s not ideal. Regular bi-metal hole saws are designed for softer metals. While they might cut thin stainless steel, they will wear out much faster, cut slower, and are more prone to overheating and breaking teeth compared to carbide-tipped hole saws specifically made for stainless steel.
Q2: What is the best lubricant for cutting stainless steel with a hole saw?
Specialized cutting fluids or tapping compounds designed for metalworking are best. These provide excellent cooling and lubrication. You can also use a mixture of motor oil and kerosene (use with caution and ensure good ventilation), or even a heavy-duty cutting oil. Water-based coolants can work but may not offer as much lubrication.
Q3: How do I prevent the hole saw from getting too hot?
The key is consistent lubrication and slow, steady speed. Periodically lift the hole saw out of the cut while it’s still spinning slowly to allow lubricant to reach the teeth and to clear out metal chips, which also trap heat. Let the tool and workpiece cool down if they feel excessively hot.
Q4: What if my hole saw is dull?
If your hole saw is dull, it will require more force to cut, generate more heat, and produce a rougher finish. It’s best to replace dull hole saws. While some specialized hole saws can be resharpened, it’s often more cost-effective and safer to buy a new one, especially for carbide-tipped saws where the carbide teeth can be delicate.
Q5: How thick of stainless steel can I cut with a hole saw?
Most standard hole saws have a cutting depth of about 1-1/2 inches. The ability to cut through thicker stainless steel depends on the hole saw’s quality, the drill’s power, and your technique. For very thick stainless steel (over 1/4 inch), you might need specialized, deep-cut hole saws, a drill press, or alternative cutting methods like a reciprocating saw with a metal blade or an angle grinder.
Q6: Is it safe to use a hole saw on a pipe?
Yes, but it requires extra care. Ensure the pipe is securely clamped to prevent it from rolling or moving. A pipe clamp jig can be very helpful. For curved surfaces like pipes, the hole saw might not cut perfectly perpendicular, and you may need to adjust your angle slightly or use a hole saw guide. Always ensure the pilot bit can get a good start on the surface.
Conclusion
Mastering how to hole saw stainless steel is a valuable skill for any DIYer or professional. By understanding the unique properties of stainless steel and selecting the right tools – primarily carbide-tipped hole saws – you can achieve clean, precise results. Remember to prioritize safety by securing your workpiece, wearing protective gear, and maintaining a steady, controlled approach. Consistent lubrication and appropriate speed settings are your best allies in preventing overheating and ensuring the longevity of your tools. With practice and by following these expert tips, you’ll be confidently cutting through stainless steel for all your projects in no time.