
Effortlessly remove your coping saw blade with these simple, proven steps. This guide ensures a quick and safe blade change, so you can get back to your project without frustration.
Ever wrestled with a coping saw blade, feeling like you’re trying to untangle a kite string in a hurricane? You’re not alone! Many of us have been there, fumbling with the tension, unsure of the right way to release the blade. It can feel a bit fiddly at first, especially when you just want to switch to a different tooth count or replace a worn-out blade. But don’t worry, changing a coping saw blade is actually quite straightforward once you know the trick. We’ll walk through it together, step-by-step, making this task as easy as pie. Get ready to conquer your coping saw!
Why is Coping Saw Blade Removal Sometimes Tricky?
Coping saws are fantastic tools for intricate cuts, but their design, which relies on tension to hold the blade, can sometimes make blade removal seem like a puzzle. The key is understanding how that tension works and how to safely release it. Without the right approach, you might find yourself with a blade that’s stuck, or worse, one that springs out unexpectedly. This guide is here to demysticate the process, ensuring you can swap blades quickly and safely, ready for any project.
Understanding Your Coping Saw
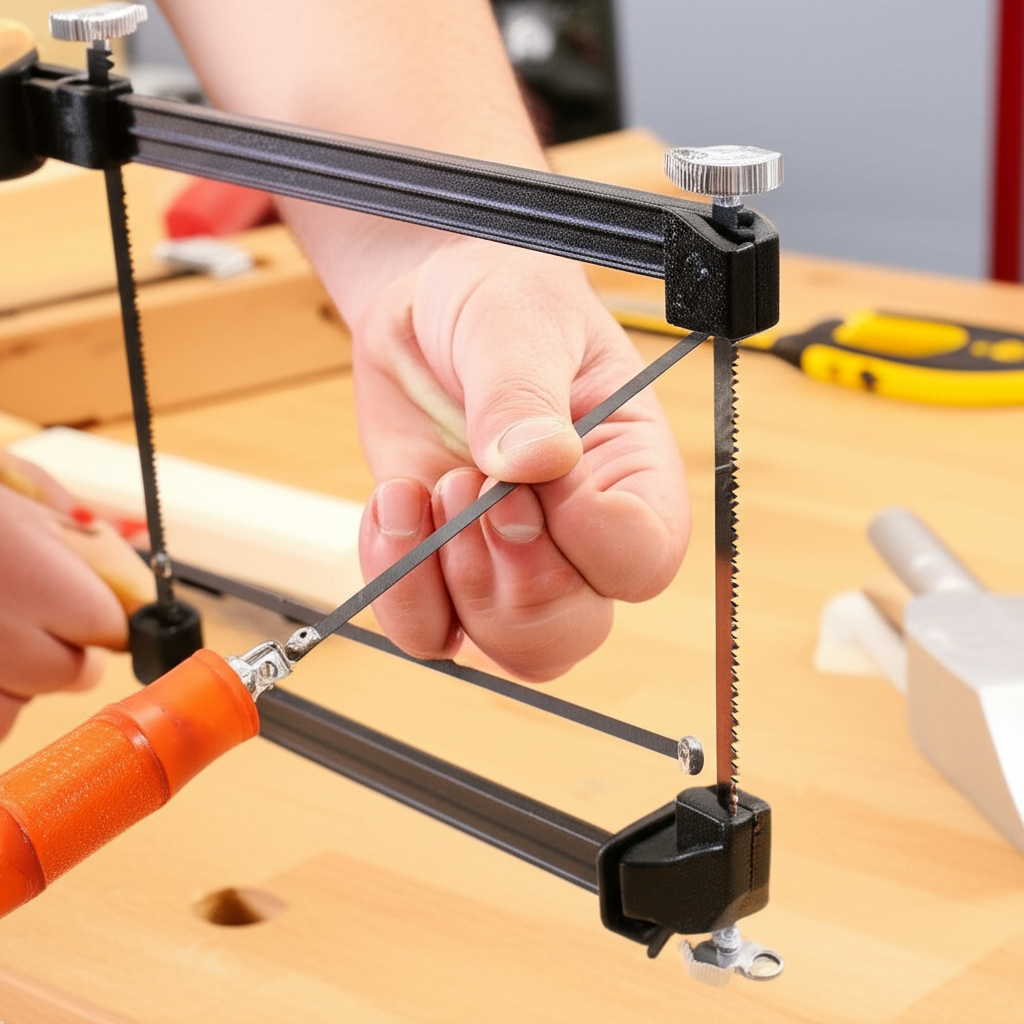
Before we dive into the “how-to,” let’s quickly look at the parts of a coping saw that are important for blade removal.
The Frame: This is the U-shaped metal or wood part that holds everything together.
The Pins: These are small metal pins at the ends of the blade. They have a loop on one end that fits into the saw’s frame.
The Handle: Where you hold the saw.
The Tension Knob/Lever: This is the crucial part for blade removal. It’s usually located at the end of the frame, opposite the handle. Turning this knob (or moving a lever) adjusts the tension on the blade.
The Simple Steps to Effortless Coping Saw Blade Removal
Here’s the proven, easy-to-follow method for removing your coping saw blade. It’s designed for absolute beginners and emphasizes safety and simplicity.
Step 1: Ensure Safety First
Always start by making sure your workpiece is secure and that you have a clear workspace. While removing a blade isn’t inherently dangerous, a sudden release of tension could cause the blade to fly out. So, keep your fingers and other body parts clear of the blade’s path.
Step 2: Locate the Tension Mechanism
Find the tension knob or lever. On most coping saws, this is at the end of the longer arm of the frame, opposite the handle. It’s usually a small, knurled knob that you can grip and turn with your fingers.
Step 3: Release the Tension
This is the most critical step. You need to reduce the tension on the blade.
For Knob-Type Saws: Gently turn the tension knob counter-clockwise (to the left). You’ll feel the tension on the blade decrease. You don’t need to loosen it completely; just enough to make the blade slack.
For Lever-Type Saws: If your saw has a lever, you’ll typically push or pull it to release the tension. Consult your saw’s manual if you’re unsure, but the principle is the same: reduce the blade’s tautness.
You’ll know you’ve released enough tension when the blade feels a bit floppy and doesn’t snap back if you lightly flick it.
Step 4: Remove One Pin
Once the tension is released, the blade will be loose. Now, you can easily remove one of the pins from its slot in the frame.
Gently pull the pin away from the frame. It should slide out of its holder.
It’s usually easiest to remove the pin from the end of the frame opposite the handle first.
Step 5: Remove the Blade
With one pin out, the blade is no longer held under tension. You can now:
Carefully maneuver the blade out of the other pin’s holder.
The blade might still be attached to the second pin. If so, you can either remove the second pin as well, or simply let the blade hang loose from it.
And that’s it! The blade is removed.
Troubleshooting Common Issues
Sometimes, things don’t go perfectly smoothly. Here are a few common hiccups and how to fix them:
Blade Won’t Come Out: If the blade still feels too tight, you likely haven’t released enough tension. Turn the knob further counter-clockwise.
Pin is Stuck: If a pin seems difficult to remove, ensure the tension is fully released. Sometimes a slight wiggle of the frame can help free it.
Blade Snapped: This is rare if you’ve released tension, but if it happens, it means the blade was likely stressed. Remove the remaining pieces carefully and inspect the frame for any damage.
How to Re-insert a Coping Saw Blade
Re-inserting a blade is essentially the reverse process, but it requires a bit of finesse to get the tension right.
Step 1: Prepare the New Blade
Make sure your new blade is oriented correctly. The teeth should point away from the handle, towards the front of the saw. This is crucial for proper cutting.
Step 2: Insert One Pin
Take one of the pins (usually the one at the end opposite the handle) and insert it into the slot in the frame.
Step 3: Position the Blade
Align the other pin of the blade with the slot in the frame near the handle.
Step 4: Apply Tension
Now, you need to re-introduce tension.
For Knob-Type Saws: Turn the tension knob clockwise (to the right). As you turn, you’ll feel the blade becoming taut. You’ll need to apply enough tension so the blade is firm and straight, but not so much that it risks breaking. A good rule of thumb is that the blade should sing when plucked, but not be so tight that it’s impossible to bend slightly.
For Lever-Type Saws: Use the lever to re-apply tension until the blade is taut.
Step 5: Check Tension and Alignment
Once the blade is in place and tensioned, give it a gentle flick. It should feel firm. Ensure the blade is running straight and is not twisted. If it feels too loose, add a little more tension. If it feels excessively tight, back off slightly.
When to Change Your Coping Saw Blade
Knowing when to swap out a blade is as important as knowing how to do it. Here are some indicators:
Dullness: The most common reason. If your cuts are becoming rough, ragged, or require excessive force, the blade is likely dull.
Broken Teeth: A few broken teeth might still allow for some cutting, but it will be less efficient and can mar your workpiece.
Rust: While not always affecting performance, heavy rust can weaken the blade and make it more prone to breaking.
* Switching Materials: Different materials benefit from different blade types and tooth counts. For example, you’ll want a finer tooth blade for plastics or metal, and a coarser blade for softer woods.
Choosing the Right Coping Saw Blade
The “right” blade depends entirely on what you’re cutting. Coping saw blades come in various tooth counts (TPI – Teeth Per Inch) and sometimes different materials.
| Blade Type | Teeth Per Inch (TPI) | Best For