Drilling a hole into a ceramic pot is essential for healthy gardening or decorating the indoors and outdoors, but it isn’t as simple as it sounds. Ceramic is a quite brittle material and if you don’t know how to drill a hole in a ceramic pot, there is a good chance of cracking the pot.
From getting the necessary grip to drilling a hole without burning the drill bit, there are plenty of challenges that make the task significantly risky.
4 Easy Steps How to Drill a Hole in a Ceramic Pot
If you are keen on creating a hole in the ceramic pot successfully, simply keep reading the guide and learn the right process. The method we will discuss will reward you with success and allow you to enjoy beautiful gardening or other desired purposes.
Collect the Appropriates Tools
Whether you need to drill a hole in ceramic or other surfaces, the first task you have to do is collect all the right appliances for the project. For drilling into a ceramic pot, you will require a power drill and a drill bit. Though you can choose between corded or cordless drills, make sure you are using a drill bit that is specially designed for tile or glass.
Don’t go for the regular drill bit that is typically used for metal or wood, as it cannot properly drill into a ceramic pot. Plus, a soft surface is essential for placing the ceramic pot to lower the vibration. You can use a towel, some newspaper, or foam to ensure an even and smooth surface under the ceramic pot.
A spray bottle with water will also be helpful to reduce the temperature that is produced due to consistent friction between the ceramic surface and the drill bit. The water also helps to keep ceramic dust from flying around and burning up the drill bit.
Safety gear like goggles, earplugs, and face masks will protect you during the operation from flying dust and loud noises. Another handy accessory required is painter’s tape or masking tape to offer some grip to the drill bit so it can remain steady. Multiple layers of masking tape will be needed for drilling holes into a glazed ceramic pot.
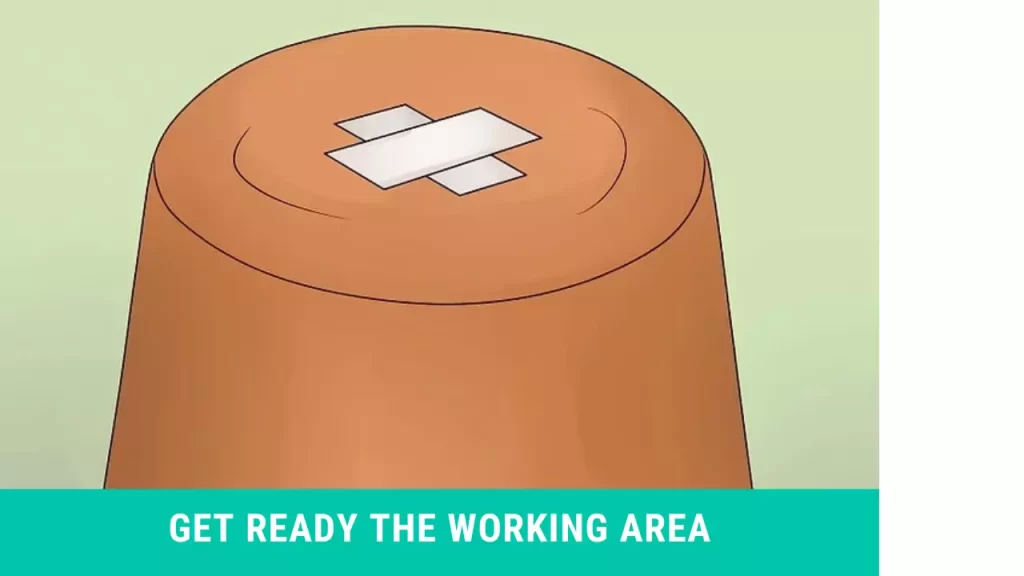
Get Ready the Working Area
Choose a well-ventilated area that has enough room for movement and light to observe the operation. Another important thing is to inspect the ceramic pot carefully. You have to check whether it has any cracks or not, as you have to use a fresh pot.

A ceramic pot with any type of crack will increase the risk of breaking down while you try to create a hole in it. After that, place the ceramic pot upside down on the soft surface and make sure it won’t slide or move while drilling.
Mark the desired area to create a hole in the pot using a ruler. But choose the area close to the corner as it is prone to cracking easily. Remember, you have to start drilling from the outer surface of the ceramic pot. Then apply a layer of masking tape over the marked spot and spray some water to make the task more efficient.
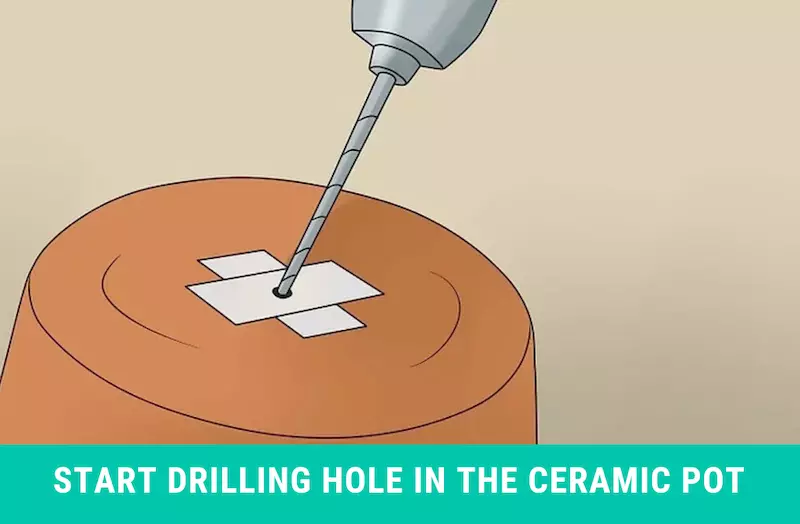
Start Drilling Hole in the Ceramic Pot
At the initial stage, you have to keep the pressure and the speed low. Let the bit dig into the ceramic pot on its own. The outer layer of the ceramic pot is the riskiest area to drill through, and applying excessive pressure or speed will crack it easily.
You should occasionally stop drilling while going deeper. At this stage, the continuous friction of the drill bit and the pot surface increases the temperature of the area that can burn the bit. So take regular breaks and apply water to lower the heat and prevent the ceramic particles from flying.

The duration of the ceramic drilling task depends on the thickness of the pot and the drilling speed. Once you reach almost the end, slow down the drilling speed so the bit can go through safely.
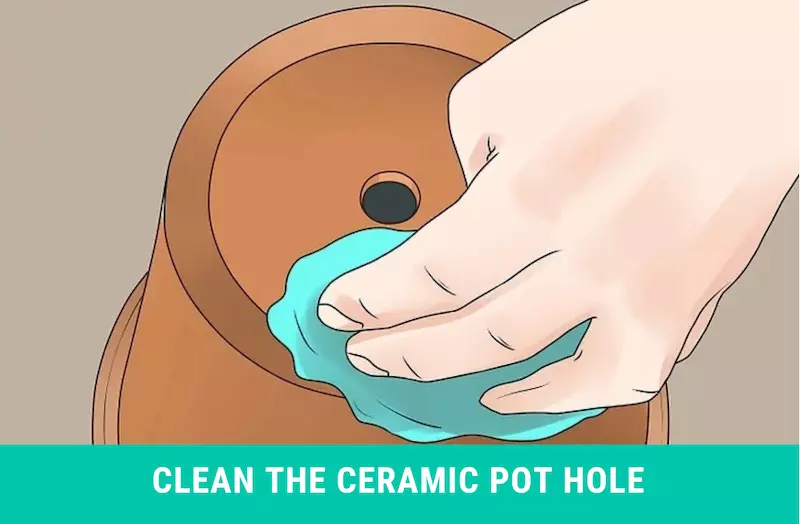
Clean the Ceramic Pot Hole
After successfully drilling a hole in the ceramic pot, carefully pull out the bit. Then remove the masking tape and clean the pot.

Can you Drill a Hole in the side of the Ceramic Pot?
Since you can create multiple holes in a ceramic pot depending on its size, you may wish to drill a hole into the side as well. Even some pots already come with drainage holes in the side, especially plastic nursery pots. But when it comes to the ceramic pot, you have to drill a hole towards the bottom instead of close to the side.
The reason is that the side of the ceramic pot is more brittle than the other surface and may crack easily. Some people also wish to create small holes around the corner of a ceramic pot to fix strings and use the pot as a hanging planter. The same suggestion is for these people as well, don’t go to the top edge of the ceramic pot.
Why is it Necessary to Drill a Hole in a Ceramic Pot?
Ceramics are made of a combination of clay, powders, earth, and water. These materials need to be shaped into certain forms or bowls by baking in an extremely hot oven at a higher temperature. Finally, the pot needs to have a glazed coating.
There are plenty of reasons that encourage creating a hole in ceramic. Among them, the most common reason is to make the ceramic pot suitable for plants. Ints need to create a hole at the bottom of the top to drain out the water and prevent the plants from dying due to rot.
A drainage hole also allows the plants to live healthily and offer you a beautiful décor using a ceramic pot. The most innovative ceramic plant pots are mugs, teapots, hanging plant holders, baking dishes, vases, and ceramic animal shapes.
You can also create a hanging light fixture using a ceramic pot. It also needs to drill a hole, which can be easily done following the process we have mentioned above. However, you can use a hole saw to create a hole in a ceramic pot instead of using a small bit. Hole saws have diamond-coated tops. to create a light fixture, you should use a hole saw that is at least 1 ⅝” wide.
After creating a hole, it is necessary to thread a lamp kit onto the hole and screw it on the inside end. Then simply screw in the light bulb, plug in the power, and enjoy your lovely hanging light fixture!
This hanging light fixture can also be mounted on a wall or with a stand for creating lampshades. Some people love to create crafts using ceramic tiles. You can create hanging mosaics, ornaments, decorative trays, and hanging pictures simply by drilling into ceramic tiles. Due to the numerous types and wide range of shapes, ceramic brings endless opportunities for creativity.
Also Read: Best Drill for Mixing Thinset
FAQs
Do Indoor ceramic pots require drainage holes?
Whether you place the ceramic pot indoors or outdoors, it still requires a drainage hole. Proper drainage is necessary for the good health of the plant. The drainage hole also prevents the water from pooling at the bottom, as this causes fungus, bacteria, and root rot.
Can I plant in a container without creating drainage holes?
Instead of creating drainage holes, you can use multiple layers of pebbles. These will work as a drainage layer. This method will allow the extra water to run in the space between the pebbles.
Can I create a hole in the ceramic pot using a standard drill bit?
You can create a hole in the ceramic pot using a standard bit, especially if it is unglazed ceramic. But applying the standard bit onto a glazed ceramic pot won’t let the bit grab onto the pot easily and can crack the pot easily. The standard drill bit will also make a rougher hole in the ceramic pot.
Final Words
Whether it is for draining water or hanging the pot, creating a hole in the ceramic is essential. It may restore the productivity of a scrap ceramic pot, but the task isn’t easy, especially if you don’t know how to do it. Throughout the guide, we have explained how to drill a hole in a ceramic pot efficiently and successfully. Now it’s your turn to practice the method and decorate the home with gardening or lighting using a ceramic pot.
